Menu
close


Use this simple monthly home maintenance checklist to spot leaks, drafts, alarm problems, worn caulk, and dirty air filters early. Five quick weekend checks.
EyesMata is reader-supported. Some links on our site may be affiliate links, which means we may earn a small commission at no extra cost to you. Learn more.
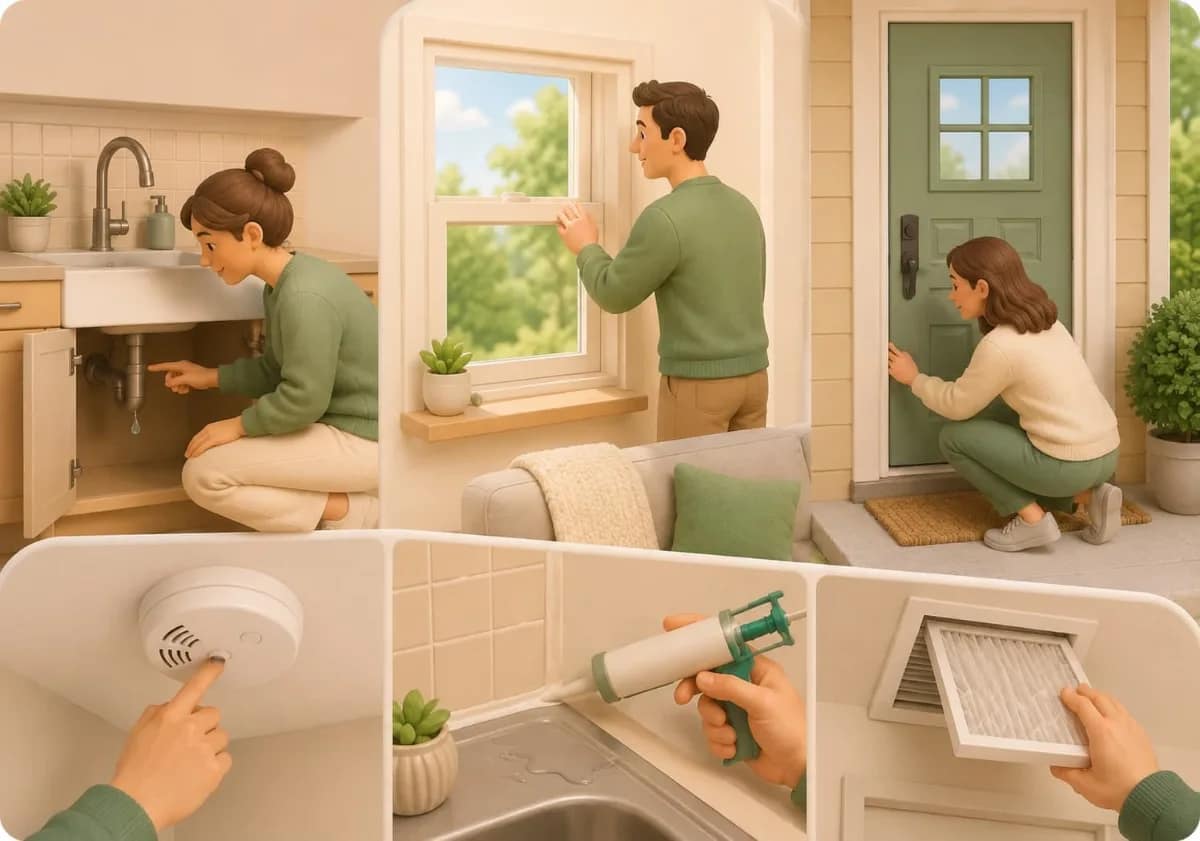
Home maintenance doesn't always mean a long list of expensive repairs. Most of the time, it's about noticing small problems early, before a slow drip turns into a soggy cabinet or a tired smoke alarm stops doing its job.
This simple monthly home maintenance checklist covers five quick checks you can do in one weekend morning. You don't need special skills, and most homes can work through all five in about 30 to 45 minutes. For each one, you'll learn how to do the check, what's normal, which warning signs to watch for, and when it's time to call a professional.
Here are the five core checks:
There's also a short bonus section if you have a few extra minutes. As for tools, keep it simple: a flashlight, a basic screwdriver set, a sturdy step stool, a replacement air filter in the right size, and your phone for notes and photos. If you're still putting a kit together, our guide to the essential DIY tools every homeowner should have covers the basics.
These checks are low-risk, but a few ground rules keep them that way:
Small leaks are easy to miss because they often happen out of sight. They also add up. According to the EPA's WaterSense program, household leaks waste nearly 1 trillion gallons of water across the country every year, and fixing easy-to-correct leaks can cut a typical water bill by about 10 percent.
Open the cabinets under your kitchen and bathroom sinks and shine a flashlight around the pipes, shutoff valves, and the cabinet floor. Look for drips, damp spots, water stains, warped or soft wood, rust around connections, and musty smells.
Then run each faucet for a few seconds and watch the base, the handles, and the pipes underneath. A dry cabinet and dry connections are what you want to see. A little condensation on a cold pipe in summer can be normal, but a spot that stays wet or keeps coming back is worth tracking down.
Toilets can leak silently. To check, put a few drops of food coloring in the tank, wait about 10 minutes without flushing, and look at the bowl. If color shows up, you have a leak, most likely from a worn flapper. Flush afterward so the dye doesn't stain.
For a whole-house check, the EPA's WaterSense home maintenance tips suggest reading your water meter while no water is being used, then reading it again two hours later. If the number changed, you probably have a leak somewhere.
A faucet that drips once per second can waste more than 3,000 gallons a year, according to WaterSense, so even a minor drip is worth fixing soon. Many faucet and toilet fixes are beginner-friendly. Call a plumber if you see water near electrical outlets, stains on a ceiling below a bathroom, a leak you can't trace, or a shutoff valve that won't turn.
Open and close the doors and windows you use most. They should move smoothly, latch without force, and lock properly. This check matters most as the weather turns cold, which makes it a natural part of any winter home maintenance checklist.
On a cool or windy day, slowly move your hand around the edges of doors and window frames. You can also close a door or window on a sheet of paper: if it slides out easily, the seal may not be tight. Look for daylight around door edges, too. ENERGY STAR says sealing air leaks and adding insulation can make a home more comfortable and trim annual energy bills by up to 10%.
While you're there, check for wobbly door handles, loose hinge screws, and locks that stick. Tightening a loose screw often takes seconds with the right bit from a basic screwdriver set. Pay special attention to exterior doors, since a loose lock or strike plate is a security issue, not just an annoyance.
Weatherstripping is the flexible seal around doors and operable windows. Look for pieces that are flattened, cracked, torn, or pulling away. It wears out over time, so a once-a-year close look is a good habit even if you don't notice drafts.
This is the most important check on the list, and it's also one of the quickest. The National Fire Protection Association (NFPA) recommends testing smoke alarms at least once a month, and the U.S. Consumer Product Safety Commission (CPSC) recommends testing carbon monoxide (CO) alarms monthly as well.
Let everyone in the house know before you start, since the alarm is loud. Press the test button and listen for a loud, clear beep. If it's weak or silent, replace the battery (if your model has a replaceable one) and test again. If it still doesn't sound, or the alarm is more than 10 years old, replace the alarm.
Most CO alarms also have a test button. Press it and confirm the alarm sounds the way the manual describes. Get to know the difference between the emergency alarm and the low-battery or end-of-life chirp, because many models use different sound patterns for each.
CPSC recommends replacing the batteries in smoke and CO alarms once a year, unless you have sealed long-life models. NFPA says smoke alarms should be replaced 10 years after the manufacturing date printed on the back. CO alarm sensors also wear out, so follow the manufacturer's replacement guidance.
Placement matters, too. NFPA recommends smoke alarms inside each bedroom, outside each sleeping area, and on every level of the home. CPSC recommends CO alarms on each level and outside sleeping areas.
Caulk keeps water from slipping into the gaps around sinks, tubs, showers, and countertops. When it fails, moisture can work its way behind tile or into the wall, where it can cause damage you won't see for a while.
Look for caulk that's cracked, shrinking, peeling, or missing, along with dark spots that keep coming back. Press gently along the bead with your finger. Healthy caulk feels firm and stays attached on both sides. If it lifts easily or you can see a gap, it's time to replace that section.
Moisture is the real problem here. The EPA's guide to mold and moisture says it's important to dry water-damaged areas and items within 24 to 48 hours to prevent mold growth, and to fix the water problem itself. Before any repair, clean and dry the area completely, and don't caulk or paint over mold. You'll need a caulking gun for most jobs, and a soft or crumbling wall behind the tile is a sign to call a pro.
A dirty air filter makes your heating and cooling system work harder to move air through your home, which can waste energy and wear out equipment sooner.
ENERGY STAR recommends checking your filter every month, especially during heavy-use months in winter and summer. If it looks dirty after a month, change it. At a minimum, replace it every three months. Homes with pets, allergies, or a lot of dust may need more frequent changes.
Turn the system off first. When you slide out the old filter, note the size printed on its frame and the arrow showing airflow direction. ENERGY STAR's filter-changing steps explain that the arrow should point toward the furnace or blower unit. Writing the date on the new filter's edge makes next month's check easy.
Walk through each room and make sure supply vents and return grilles aren't blocked by furniture, rugs, or curtains. Wipe away dust you can reach. Call an HVAC technician if you notice burning smells, unusual noises, rooms that won't heat or cool, or water collecting around the unit.
GFCI outlets are the ones with test and reset buttons, usually near water in kitchens, bathrooms, garages, and outdoors. The Electrical Safety Foundation International (ESFI) recommends testing them monthly: plug in a nightlight, press test, and the light should go off. Press reset and it should come back on. If the light stays on, the GFCI isn't working properly, so have a licensed electrician look at it.
According to the U.S. Fire Administration, failure to clean is the leading factor contributing to clothes dryer fires. Clean the lint filter before or after every load, and have the dryer vent cleaned if clothes start taking longer to dry.
Find your main water shutoff valve now, while nothing is wrong, and make sure everyone in the house knows where it is. In a burst-pipe emergency, those few minutes matter.
The five checks above are your monthly routine. A few extra tasks fit naturally around them:
Pick the same weekend each month, such as the first Saturday, and set a phone reminder. Keeping quick notes and photos also helps you spot changes over time.
A monthly check is about spotting problems, not solving everything yourself. Call a qualified professional if you notice:
A quick walk-through once a month catches most small problems early. Add seasonal and yearly tasks, like heating and cooling tune-ups, on top of that.
Test both at least once a month. NFPA recommends monthly smoke alarm tests, and CPSC recommends testing CO alarms monthly and replacing batteries once a year.
Check it monthly and change it when it looks dirty, or at least every three months. Pets, allergies, and heavy use can mean more frequent changes.
Visual checks, alarm tests, filter changes, and tightening loose screws are all beginner-friendly. Leave gas, electrical, and structural work to licensed pros.
A good start is leaks, doors and windows, smoke and CO alarms, caulk and seals, and air filters and vents. GFCI tests and dryer lint cleanup are easy extras.
A simple home maintenance routine doesn't have to take over your weekend. Five quick checks each month can help you catch leaks, drafts, alarm problems, worn caulk, and dusty filters while they're still small and inexpensive to handle. Start this weekend, keep notes, and make it a habit.
This article is for general information only and is not a substitute for advice from a licensed plumber, electrician, HVAC technician, or other qualified professional.

