Menu
close


Try these 7 easy DIY home repairs: fix a squeaky door, patch small drywall holes, stop a dripping faucet, recaulk a tub and more, with simple safety tips.
EyesMata is reader-supported. Some links on our site may be affiliate links, which means we may earn a small commission at no extra cost to you. Learn more.
A few basic skills can make everyday life at home a lot easier. You don't need a workshop or years of experience to handle many of the small problems that show up around the house, and learning a handful of DIY home repairs can save you time, money, and the hassle of waiting for a service call.
This guide walks you through seven simple fixes that most beginners can do in an afternoon with common hand tools. If you're looking for what to check each month, our monthly home maintenance checklist covers that. This article is about what to do once you've found the problem.
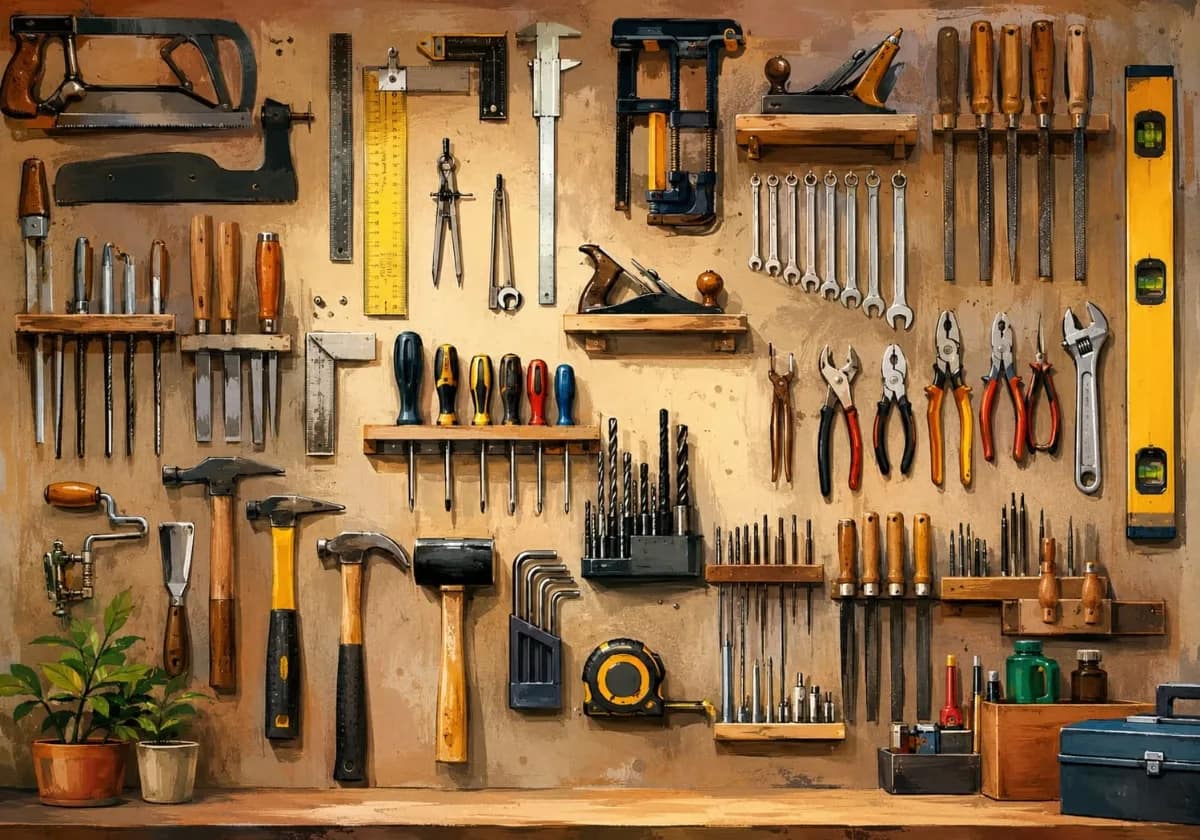
Most small repairs go faster when the right tools are already in one place. A practical starter kit includes a screwdriver set, pliers, an adjustable wrench, a hammer, a tape measure, a utility knife, a level, a flashlight, and a small box of common screws and wall anchors. You don't need to buy everything at once. Build your kit as real jobs come up, and keep it clean, organized, and stored somewhere dry. Our guide to the essential DIY tools every homeowner should have explains what each tool is for.
If your home was built before 1978, be extra careful with old paint. The EPA's guide to lead-safe renovations for DIYers explains that older homes may have lead-based paint and that sanding or scraping it can create dangerous lead dust.
Here are the seven fixes in this guide and the main tools for each one:
Loose knobs, drawer pulls, and cabinet handles are some of the easiest problems to fix, and they tend to get worse the longer they wobble.
Look for the screws holding the hardware in place. Cabinet pulls are usually held by a screw inside the door or drawer. Many interior door knobs have screws on the inside face of the rose, the round plate against the door. Others use a tiny set screw on the neck of the knob that takes a small hex key. Using a bit that fits snugly keeps you from damaging the screw head.
Turn the screws until the hardware feels firm, then stop. Overtightening can crack wood, warp thin cabinet doors, or chew up the screw hole. If a screw keeps spinning without getting tighter, the hole is stripped. Skip ahead to fix number 7 for an easy repair.
A squeaky door is usually caused by friction between the hinge pin and the hinge itself. It's annoying, but it's rarely serious.
Open the door and check the screws on each hinge, on both the door side and the frame side. Loose screws let the door sag, which adds friction and noise. Tighten them snugly. If one won't grab, that hole is stripped, so use fix number 7 before moving on.
If the squeak is still there, apply a small amount of household lubricant to the top of the hinge pin and swing the door back and forth to work it in. For a stubborn squeak, close the door and tap one pin up and out at a time, wipe off old grime, coat it lightly, and tap it back in. Work on one hinge at a time so the door stays in place. Wipe away any excess so it doesn't drip onto the door or floor.
Nail holes, small screw holes, and little dents from doorknobs or furniture are easy to hide with a few basic supplies.
Brush away loose bits of paper and dust. Use a putty knife to press a small amount of lightweight spackle into the hole, then scrape it flat with the wall. Let it dry according to the product label. Light sanding with fine sandpaper will smooth the surface, then wipe off the dust, prime the spot if the label recommends it, and touch up with matching paint. Deeper dents may need a second thin coat after the first one dries.
Spackle alone won't hold in larger holes, like the kind a doorknob can punch through. Those need a self-adhesive mesh patch or a cut-in drywall repair, which takes more time and skill. If the damage is large, the wall feels soft, or the hole is near wiring, it's worth calling a pro. In homes built before 1978, avoid dry-sanding old painted surfaces and follow lead-safe practices.
A dripping faucet wastes water and money. According to the EPA's Fix a Leak Week guidance, old and worn faucet washers and gaskets frequently cause faucet leaks, and a faucet dripping once per second can waste more than 3,000 gallons a year.
Close the shutoff valves under the sink by turning them clockwise until they stop, then open the faucet to let the remaining water drain out. If there are no valves under the sink, turn off your home's main water shutoff instead. Cover the drain with a rag or stopper so small parts can't fall in. Before you start, take a photo or lay out each piece in order so reassembly is easy.
Common faucet designs include compression faucets with separate hot and cold handles, along with cartridge, ball, and ceramic disc faucets. Compression faucets usually drip because of a worn rubber washer, while the others often need a new O-ring, seal, or cartridge. Remove the handle, take out the worn part, and bring it to the hardware store so you can match it exactly. Reassemble everything, then turn the water back on slowly and check for drips.
Call a plumber if the shutoff valves won't close, water leaks from the faucet body or the pipes underneath, the drip continues after you replace the parts, or you see signs of water inside a wall or cabinet. Our home maintenance checks include simple ways to spot hidden leaks early.
Old caulk can crack, shrink, or peel away from the tub, sink, or tile, which lets water reach places it shouldn't. Replacing a worn bead is one of the most satisfying beginner fixes.
Slice along both edges of the old caulk with a utility knife or a plastic caulk removal tool, then pull it out. Work gently so you don't scratch the tub or tile. Scrape away leftover residue and clean the joint well. If you see mold, clean it up before you do anything else. The EPA's guide to mold and moisture says not to paint or caulk moldy surfaces. Let the area dry completely before you apply new caulk.
Choose a caulk labeled for kitchens and bathrooms. For clean lines, run painter's tape along both sides of the joint. Cut the nozzle at an angle with a small opening, load it into a caulking gun, and apply a steady, even bead while pulling the gun along the joint. Smooth the bead with a damp fingertip or a smoothing tool, then remove the tape before the caulk skins over. Let it cure for the full time listed on the label before the tub or sink gets wet.
A shelf or piece of furniture that starts to wobble should be fixed before it gets worse. Start by finding where the movement is coming from.
Check every screw, bracket, and joint. Tighten loose fasteners and replace hardware that's bent or broken. For a wooden chair or table joint that has worked loose, work a little wood glue into the gap, clamp it, and let it dry fully before using it again.
For wall-mounted shelves, make sure the brackets are fastened into studs or into wall anchors rated for the weight you plan to store. A stud finder makes this much easier. Tall furniture needs attention too. The U.S. Consumer Product Safety Commission's Anchor It! campaign urges families to anchor TVs and furniture, such as bookcases and dressers, securely to the wall to prevent tip-overs.
When a screw just spins in place, the wood around it has worn away. This is a common cause of loose hinges, cabinet doors, and handles, and it's simple to fix.
Dip a few wooden toothpicks or a small wooden dowel in wood glue and tap them into the hole until it's snug. Let the glue dry, trim the wood flush with a utility knife, and drive the screw back in. The fresh wood gives the threads something solid to grip. Another quick option is a screw that's slightly longer or thicker, as long as it won't poke through the other side.
Drywall can't hold a screw the way wood can. If a screw has pulled out of drywall, move it slightly or use a wall anchor rated for the weight. For heavy items, fasten into a stud whenever possible.
Knowing when to stop is just as important as knowing how to start. Bring in a qualified professional if a repair involves:
The EPA recommends hiring a lead-safe certified contractor for renovation projects in pre-1978 homes.
Many beginners can safely tighten loose hardware, quiet squeaky hinges, patch small drywall holes, replace faucet washers, recaulk tubs, and fix stripped screw holes. Leave electrical, gas, and structural work to licensed pros.
A screwdriver set, pliers, an adjustable wrench, a hammer, a tape measure, a utility knife, a putty knife, and a caulking gun will cover most of the simple home repairs in this guide.
If the drip continues after you replace the washer, O-ring, or cartridge, or if water leaks from the pipes, the faucet base, or the shutoff valves, it's time to call a plumber.
Cure times vary by product, so follow the time on the label. Keep the area dry until then for a stronger, longer-lasting seal.
Sanding fresh spackle is generally fine, but in homes built before 1978, sanding nearby old paint can create lead dust. Use lead-safe practices or hire a certified pro.
Learning a few easy home repairs can save you time and money and help you catch small problems before they become serious. Start with one fix you feel comfortable with, take your time, and build your skills one job at a time.
This article is for general information only and is not a substitute for advice from a licensed plumber, electrician, or other qualified professional.


