Menu
close


Learn how to clean a dryer vent from inside and out, how often to do it, signs of a clog, and when to call a pro. A simple DIY guide to help prevent fires.
EyesMata is reader-supported. Some links on our site may be affiliate links, which means we may earn a small commission at no extra cost to you. Learn more.
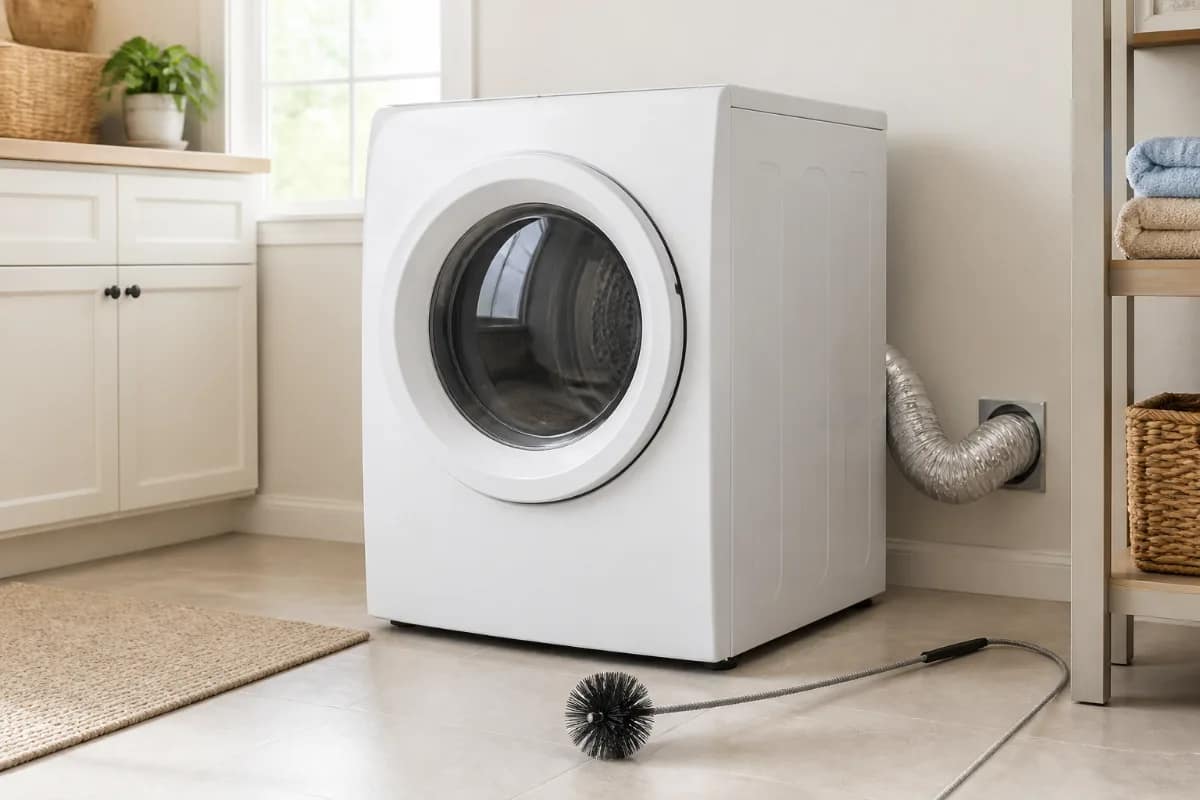
If your towels need a second trip through the dryer, or the laundry room feels like a sauna on wash day, the dryer itself may not be the problem. More often, the culprit is lint packed into the vent that carries hot, damp air outside.
Learning how to clean a dryer vent is one of those small home maintenance jobs that pays off twice. Your clothes dry faster, and you cut down on one of the most common causes of dryer fires. This guide walks you through the warning signs, how often to clean, a step-by-step DIY method from inside and outside the house, and when it's smarter to call a professional.
Every load of laundry sheds lint. Most of it lands on the lint screen, but some slips past and settles inside the dryer and along the exhaust duct. Over time, that buildup restricts airflow, so the dryer runs hotter and longer to do the same job.
That heat and lint are a risky mix. According to the National Fire Protection Association, U.S. fire departments responded to an average of about 13,820 home fires involving dryers each year from 2014 to 2018, and roughly one-third were linked to a failure to clean. The U.S. Fire Administration's report on clothes dryer fires in residential buildings also found these fires were more common in fall and winter, which makes now a good time to put this job on your list.
There's an everyday upside, too. A clear vent lets the dryer move air the way it was designed to, so you're not paying for extra cycles to dry the same load of jeans.
A dryer rarely announces a vent problem directly. Instead, you'll notice small changes that are easy to blame on something else. Watch for these:
The U.S. Fire Administration notes that when heavy clothes take a long time to dry or feel hotter than usual at the end of a cycle, a clogged exhaust is a likely cause. If you notice any of these signs, clean the vent before you keep using the dryer as normal.
There are really two schedules to keep:
Plan on cleaning more often if you run several loads a day, have pets that shed, wash a lot of towels and bedding, or have a long vent run with several bends. Any of the warning signs above is also a reason to clean sooner rather than waiting for your usual date.
For most homes, you won't need special skills, just an hour or so and a few basic supplies:
If you're building a basic home toolkit, our list of essential DIY tools every homeowner should have covers the screwdrivers, flashlight, and safety gear that come in handy here.
A few precautions make this job safer and keep you from creating a new problem while fixing the old one.
This method cleans the vent from both ends, which is the most thorough approach for a typical vent that runs through an exterior wall.

Before you touch the duct, unplug an electric dryer. For a gas dryer, turn the supply valve to the off position and move the machine gently so the gas line isn't kinked or pulled loose.
Pull out the lint screen and remove the lint by hand. Then use the vacuum's crevice tool to clean the slot the screen sits in, since lint often collects below where you can see. If the screen looks clogged even after you remove the lint, it may have a film from dryer sheets; washing it with warm, soapy water and letting it dry fully can help.
Carefully slide the dryer away from the wall, leaving enough room to work behind it. Loosen the clamps that hold the transition duct, the short section between the dryer and the wall, and take it off both the dryer outlet and the wall connection. Vacuum any lint you can reach inside the dryer's outlet and around the floor behind the machine.
Shake or brush the lint out of the transition duct and look it over closely. If it's white plastic or thin foil, or if it's crushed, kinked, or torn, replace it with a metal duct before you reconnect anything.
Feed the brush into the wall duct a little at a time, adding rod sections as you go. Rotate the brush gently as you push it forward, then pull it back out to bring the lint with it. Follow your kit's directions; many tell you to keep a drill turning clockwise so the rod sections don't unscrew inside the duct. Vacuum the loosened lint as it comes out.
Go outside and find the vent hood. Remove any screws or the cover if your model allows it, then clear lint from the flap and the opening by hand or with the vacuum. Run the brush into the duct from this end as well to dislodge anything you couldn't reach from inside. Make sure the flap swings freely and closes on its own when you let go. If your vent hood has a screen, check it closely, because lint clogs screens quickly.
Reattach the transition duct to the wall connection and the dryer outlet, tightening the clamps so the joints are snug. Seal the joints the way your dryer's installation instructions specify: some manufacturers call for clamps only, while others also allow UL-listed metal foil tape. Never use cloth duct tape. Many dryer installation instructions advise against sheet metal screws that poke into the duct, because they catch lint, so check your manual. As you push the dryer back, keep the duct as straight as possible and make sure it isn't crushed against the wall.
Plug the dryer back in or turn the gas back on, then run it for a few minutes. Go outside and confirm that the flap opens and you can feel a strong stream of warm air. Over the next few loads, your drying times should drop noticeably.
Cleaning the vent fits naturally into a regular routine. If you like to do seasonal checks, our guide to simple home maintenance checks includes other quick tasks worth doing on the same weekend.
The duct material matters as much as cleaning it. The NFPA's dryer safety tips recommend rigid or flexible metal venting to keep airflow and drying time where they should be. Flexible plastic and thin foil ducts are easier to crush, kink, and fill with lint.

Keep the run as short and straight as you can, and follow your dryer's installation instructions and local building codes for duct size and maximum length.
Plenty of homeowners clean their own dryer vents, but some situations are better left to a dryer vent cleaning service or an appliance technician:
That fourth point is worth knowing. CPSC staff have found that lint can build up inside the dryer cabinet even when you clean the lint screen after every load. If drying times don't improve, have a qualified service technician clean the inside of the dryer rather than taking the machine apart yourself.
Cold weather adds a few things to watch. The U.S. Fire Administration's carbon monoxide safety guidance reminds homeowners to keep dryer, furnace, and stove vents clear of snow and debris, which is especially important for gas dryers.
If you're getting the house ready for cold weather, our checklist on how to prevent frozen pipes is another winter task that's easy to handle in an afternoon.
For a typical vent that runs straight through an exterior wall, plan on about an hour, including moving the dryer and testing it afterward. Long runs with several bends can take longer.
You can clear the vent hood and the first part of the duct from outside, but you'll miss lint near the dryer and in the transition duct. Cleaning from both ends gives you the best result.
Ventless condenser and heat pump dryers don't have an exhaust duct to clean, but they still need regular lint filter cleaning, and many have a condenser or second filter to maintain. Follow the care steps in your owner's manual.
Cleaning your dryer vent is a simple, low-cost job that makes your dryer safer and more efficient. Clean the lint screen with every load, clean the vent at least once a year, and pay attention when drying times start to creep up. If the vent is hard to reach or the problem doesn't go away, bring in a professional. A clear vent is one of the easiest ways to protect your home this winter.


